Our lazy guide to the cheapest / fastest possible van conversion
We’ve all seen #vanlife on Instagram and been blown away by the amazing vans/homes people have built.
But maybe you don’t have bucket loads of time, a big budget, or the skills required?
Yeah, neither did we. Our mission was: get on the damn road as fast as possible.
So we did a super basic, super fast, and super cheap van conversion.

Bedroom / living room / office / place to hide from street dogs
Is it perfect? Of course not. Is it just like those dreamy vans on Instagram? Nope. Should you take any advice from us? Probably not.
But our set up does the trick. We have somewhere to eat and sleep. And more importantly, we’re out on the road and exploring which was our #1 priority.
The lowdown
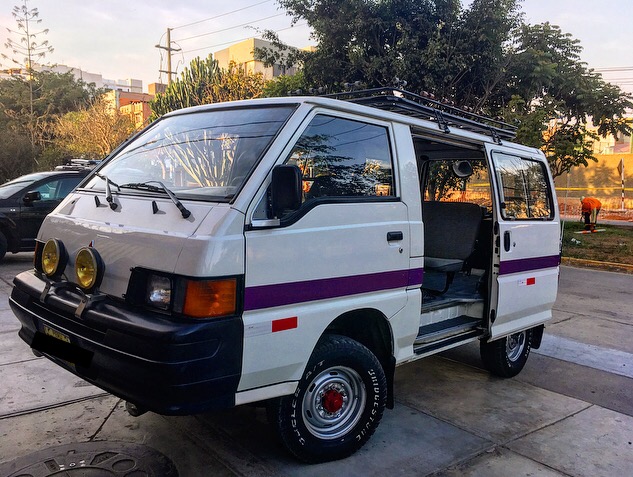
Vehicle: 1998 Mitsubishi Delica DX Time taken: about a week Connversion cost: about $230

Not the biggest, but Vanito gets the job done
Layout
You know all those vans with inside kitchens, bathrooms, living rooms, attics, cellars, and sun rooms? Forget those. There is no space for that.
Our layout includes a bed, storage, ‘kitchen’, and outside tables and chairs.
Insulation: $30
Hate spending hours on the net researching insulation options? Us too!
There’s about 183719 materials options and about double the opinions. We were mainly aiming to keep warm. We didn’t have many materials available (we did this in Lima, Peru). So we chose the easiest thing: sun protectors (those foil looking bubble wrap looking things for your windscreen).

We pulled up the plastic floor cover thing and taped a bunch of these bad boys down with electrical tape
We ‘installed’ these into the ceiling of the van, the floor, and stuck two on the rear passenger windows.

Hot tip! Shove these guys into your roof! (Ours always had carpet stuff, so we slid them in under that)
Bam! Some level of insulation! We’ve been in warm (30+ and cold (-5) and we have always been comfortable.
Bed: $100 (50 on the frame 50 on the mattress)
You know those fancy folding beds that convert into seats during the day. Forget those.
We really like our sleep. Like, really like our sleep. We decided folding our bed up and down every day would be annoying. You don’t mess around when you want to rest.

Our bed feat. Mao’s lovely sister. We made this up as we went, and for stability added wooden braces at the end of the legs.
We built a 1.5 person bed frame from solid wood, built high enough to fit plastic storage containers underneath. The wood we got cut at the hardware store when we bought it (they offered 3 cuts free per piece). We drilled it together with the cheapest screws we could find (using a borrowed drill). It took us a few hours.
We did not attach the bed to the van floor. It’s pretty heavy, and so far, and with everything stacked around, it hasn’t moved.
We got a normal 1.5 person mattress for it. It’s super comfy. We weren’t about to mess around with sleep comfort.
‘Kitchen’: $50
You know those amazing tiled sinks, and fold out cook tops people have in their vans? Forget those.
We use the term kitchen loosely here, cause you know, you wash up with buckets.
Straight up my brother told us cooking inside with gas was a death wish and basically threatened us with death if we tried.

The chef serves breakfast
We store a plastic table and camp chairs down the side of the van. Takes a couple of minutes to set up, but it’s easy, and we don’t mind the camp kitchen vibe.

A Virgo’s nightmare / back door kitchen
For washing up we use basins, and when we drive all our pots / pans / utensils are stored there. We use a couple of cheap plastic containers and a polystyrene box to store our food. Which means restocking fresh stuff every other day, but hey, we like markets!
Storage: $30
You know those pretty hand made wooden cupboards people have that fit perfectly above their beds but don’t hit them in the head? Forget those.
Plastic storage containers with wheels is where it’s at. All our possessions (clothes) fit under our bed. They’re super easy to access by just pulling out the container.

Curtains: $20
You know those beautifully pleated curtains people have that block all light yet can be easily adjusted for the day? Forget those.
Curtains get their own heading because they were the hardest part, but on the road have definitely been of the most important features.
We chose thick black fabric, which is good for light blocking, but makes the van surprisingly dark during the day. A positive is that it’s really hard to see anything inside of the van at all (sup thieves).
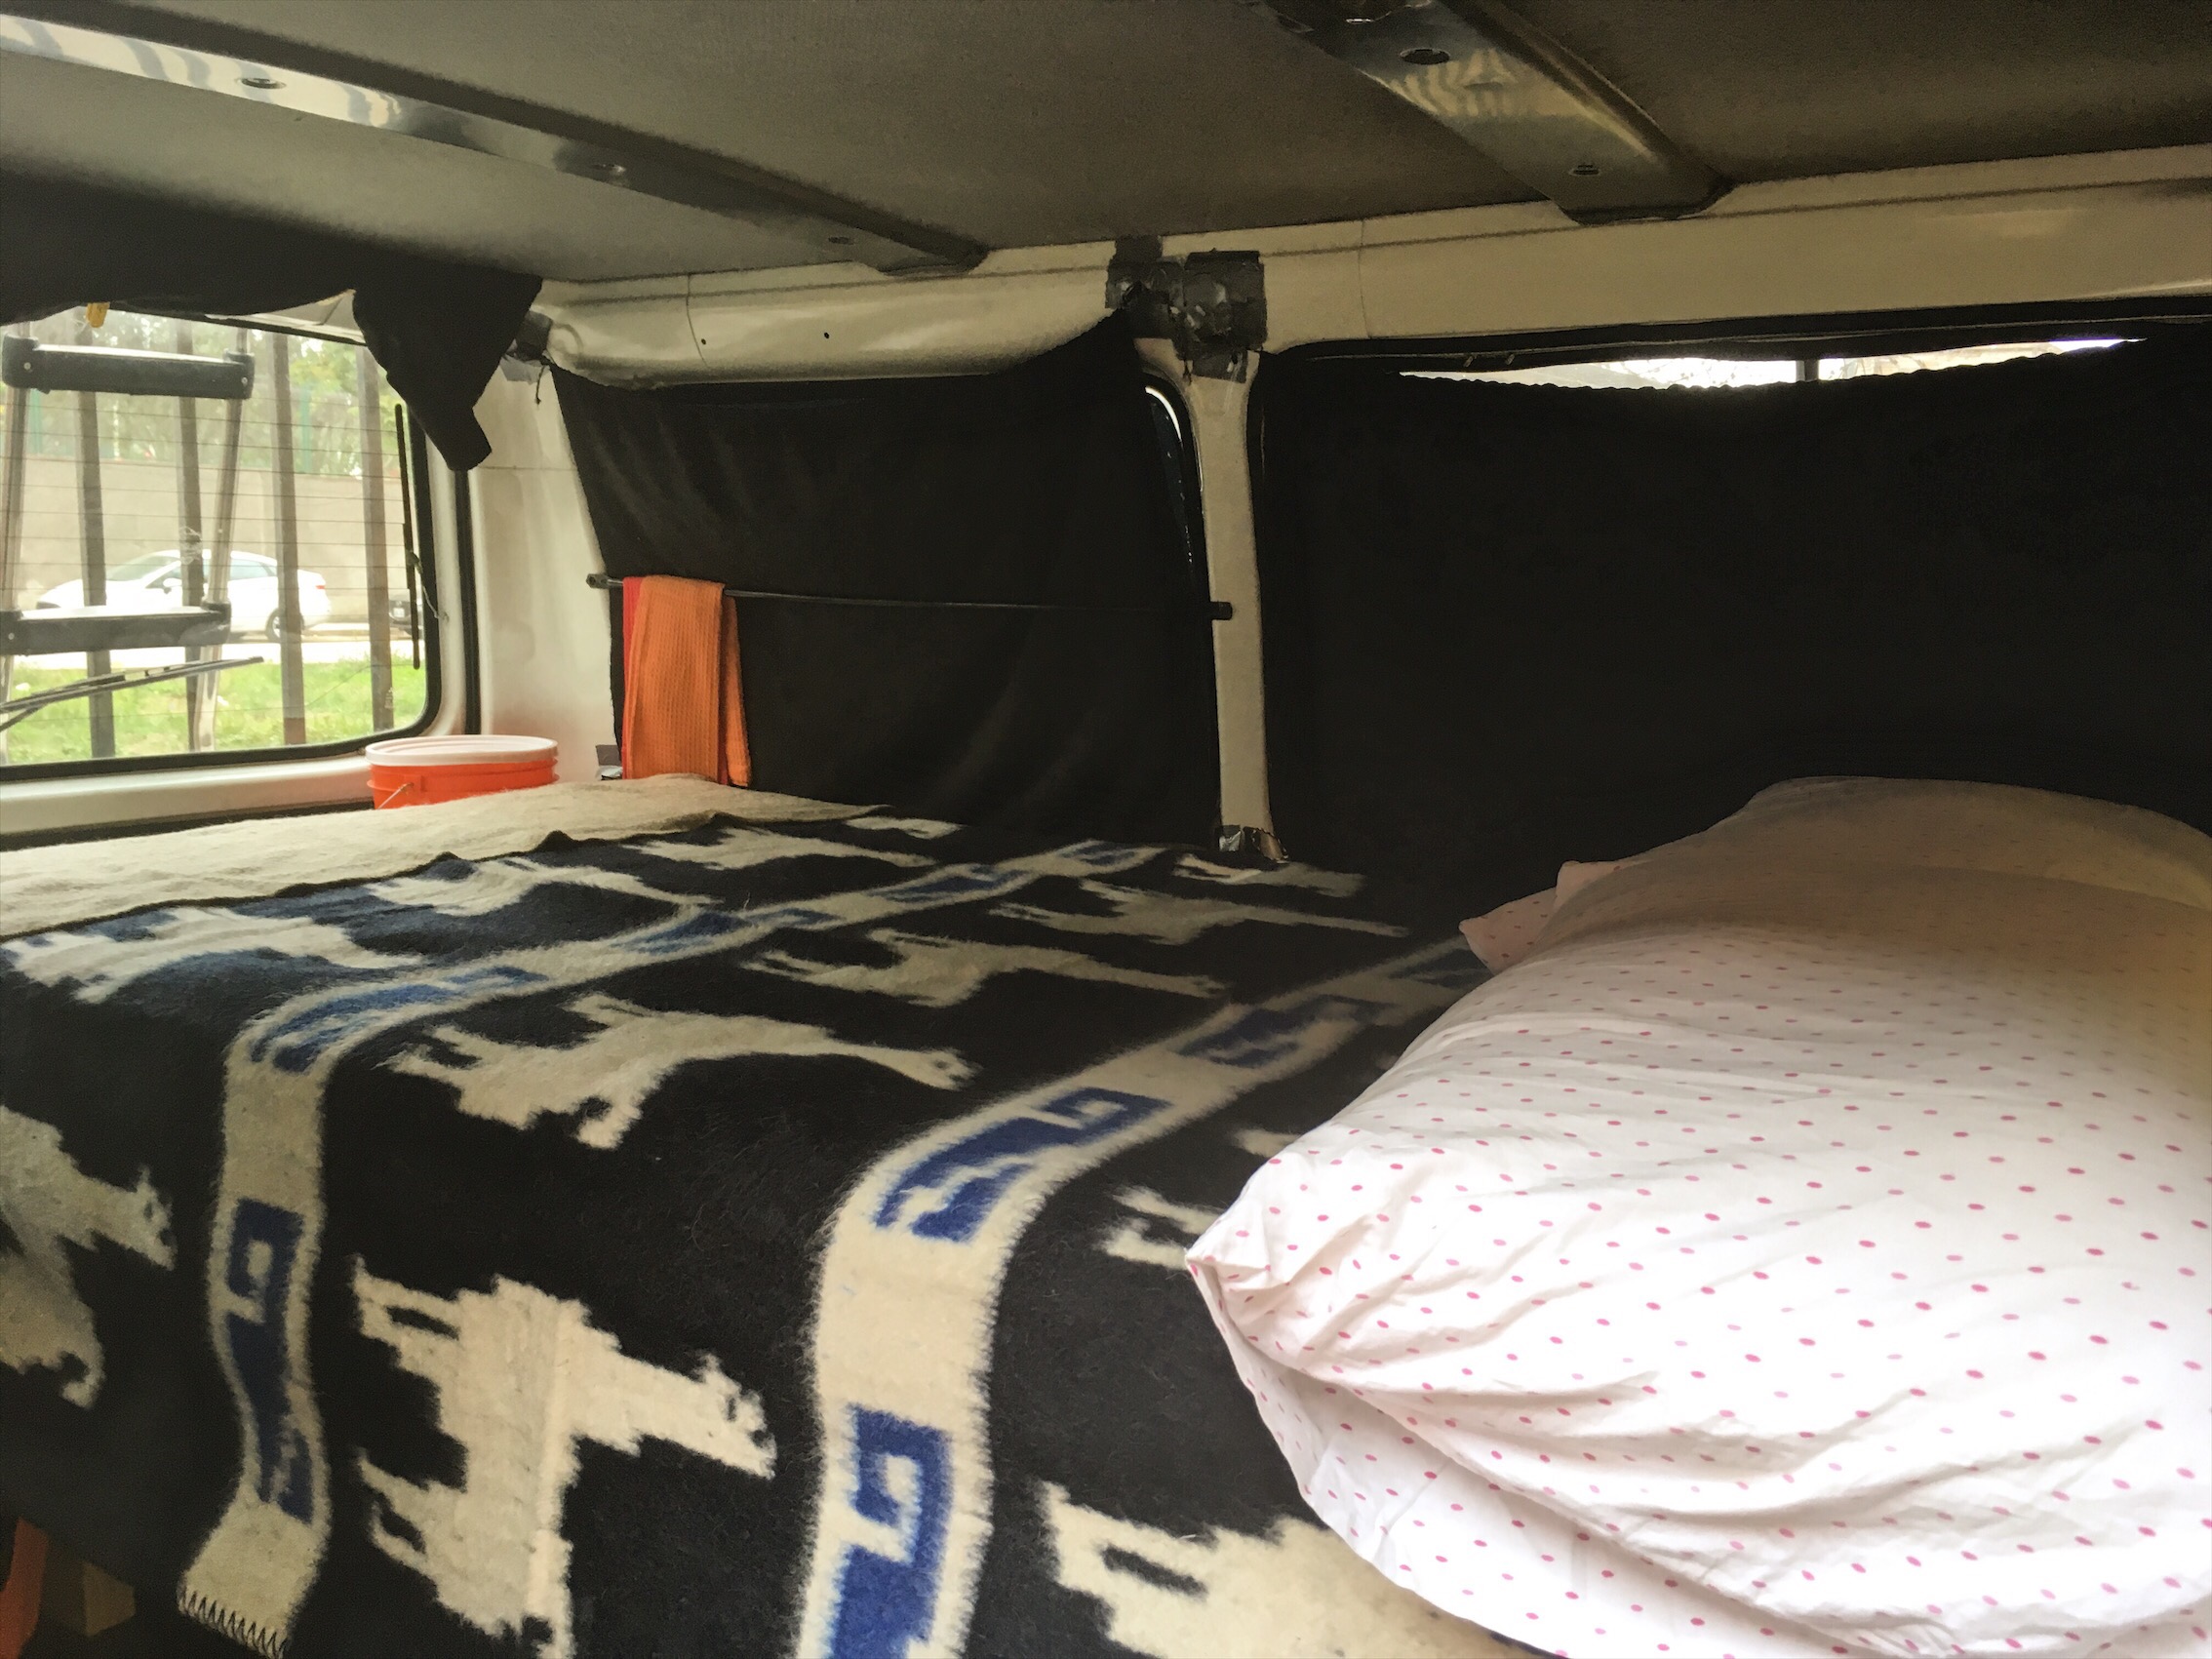
Back door curtain shoved into roof gap, and side curtains stuck on with tape, when we drive we roll up the back and peg it.
For the curtains I measured the windows, cut the fabric to size, and hand sewed (!) the rope into the hems. That takes for freaking ever. And in the end, it was even needed (this made me question my own existence).
Turns out, you can just use a screw driver to shove the material into the roof join. And it stays up!
For the passenger windows (that open) we use a bunch if thumb tacs, double sided tape, and safety pins. For the other passenger windows we put a layer of foul stuff and then attached the string to plastic suction caps (which didn’t stay so we taped them on).
Making it feel like home
Little things can make a tin can with a bed feel like home. Obviously maps.

BEST TIP?! Buy a bunch of lovely cushion covers, then stuff them with your coats and spare blankets!! Seriously, this saved us a bunch of room and helped make us comfy for Netflix times! Also, I cut up all our receipts and stuck them to the roof ’cause I thought it was ugly.

Hang stuff! This handbag is my random crap shelf, the little bag is the first aid.

Home is where your hat is? Dunno but we put a bunch of hooks up to hang stuff… dry towels etc.
So by now, you can see we tricked you!! We didn’t really convert a van. We just put a bunch of stuff in it. Which means anyone can do it.
Really this unhelpful guide is more about just getting out there and doing what you want instead of getting everything perfect up front. There are a lot of perfect van set ups. If you have the time and money, do that! But if you just want a simple set up so that you can go out and adventure, you’ll be surprised at how little you need to be comfortable.
If all that’s stopping you is a place to eat and sleep, then just get going and think later.

So your morning view can look something like this.